story + page + tag
I have a question...how is your story telling going? Are you continuing your formats from 2022? Are you changing anything up? Are you still thinking about it?
I have been thinking about this subject, and there is a video on my YouTube talking about that just that topic. If you are still looking for some direction you might want to check that out HERE.
In the mean time, I want to share with you a very utilitarian post here. Meaning, I just want to share one of my go-to ways to place a cohesive story on a page. Are you ready?
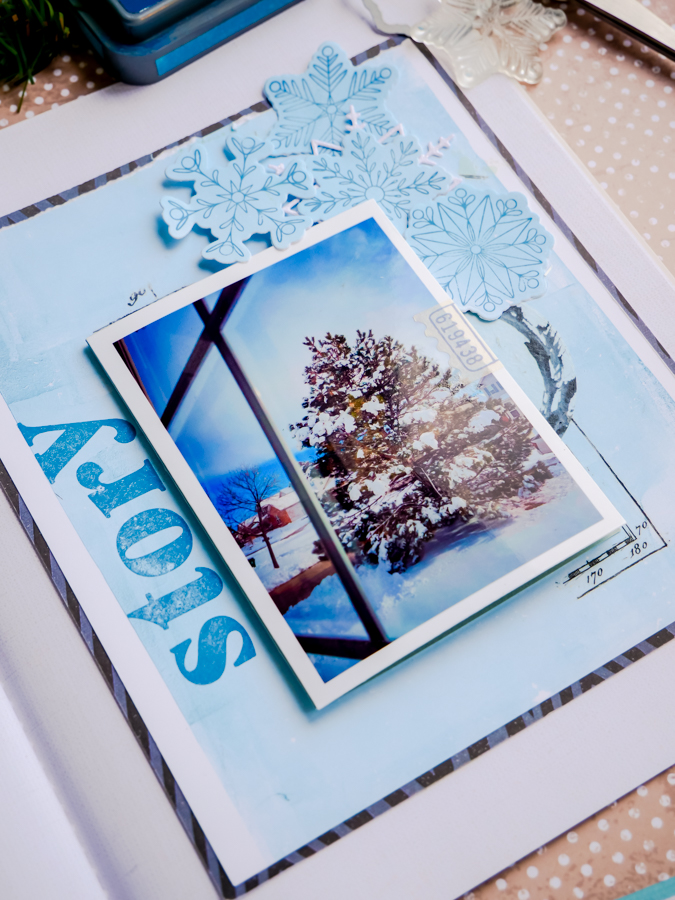
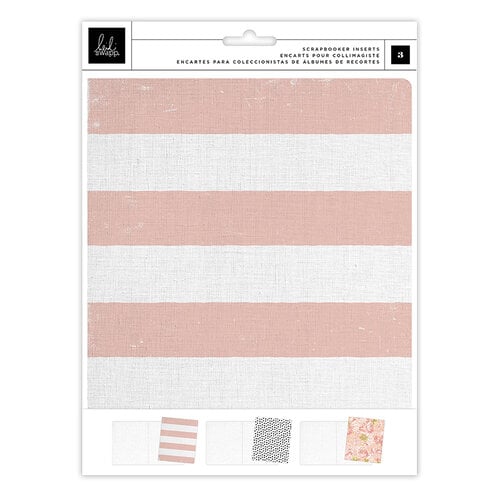
As I shared in that video, I am still working in both Storyline Chapters + Storytellers album inserts. LOVE this size. For this layout, like I most often do, I have what I am calling the main story on this right side of the page. I'm telling a lot of stories about this winter and the weather. It's my therapy, people. So, bear with me. This is how I am getting through the cold and grey and the cold. Did I mention it was cold?
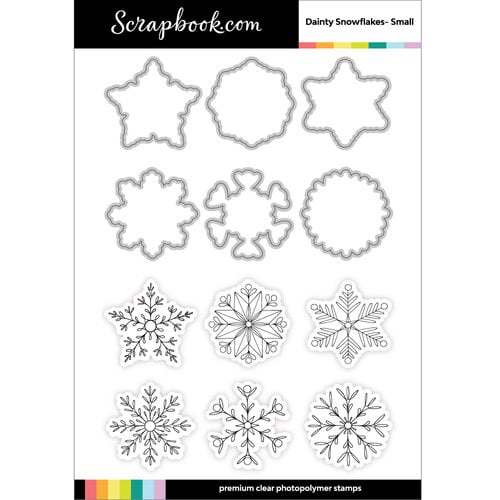
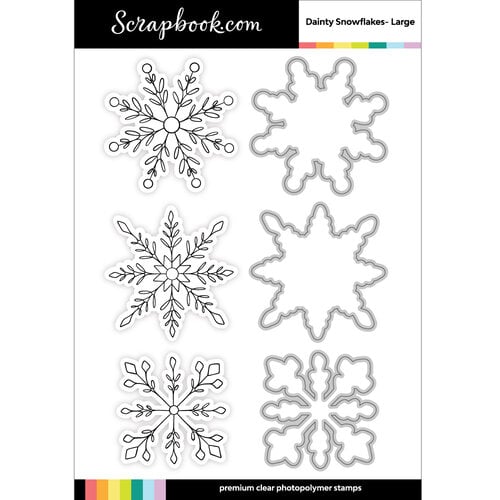
For that page I heavily used this new set from ScrapbookCom called Dainty Snowflakes Small. This set includes not only six snowflake stamps that are gorgeous. But the set also includes six dies that match each of the stamp shapes. Using the same background technique as I used on THIS video, I crafted several snowflakes in one sitting. Having made several snowflakes, I then crafted that snowflake cluster up at the top right corner of the photo and layers. I can see this on a card or a tag...oh...but wait...speaking of tag...
That's the second way I want to share about this layout. On the left hand side of this page spread, I crafted a second sort of title. Snow days. Then using one of the larger stamps and dies from the Dainty Snowflakes Large, I also layered another snowflake die to make this tag.
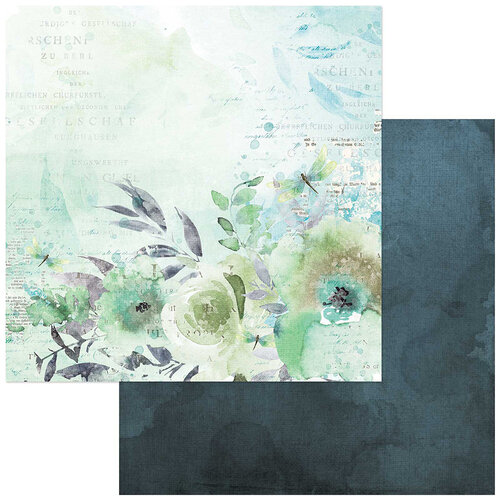
The tag background is patterned paper from 49 and Market. But, I 'wintered' it up by adding snowflake stamps from the Christmas Carolers Stamp Set. I used Speckled Egg and Pumice Stone Distress Oxide to layer very subtle snowflakes. Not only are those on the tag, but the page is also stamped with those same images to bring cohesion to the entire page. Just a tip here, but you CAN add stamp images to your patterned paper. If it's not wintry enough for you, or for that matter, springy enough for you, then add an icon to that paper and make it what you want. This was fun. Will for sure do it again.
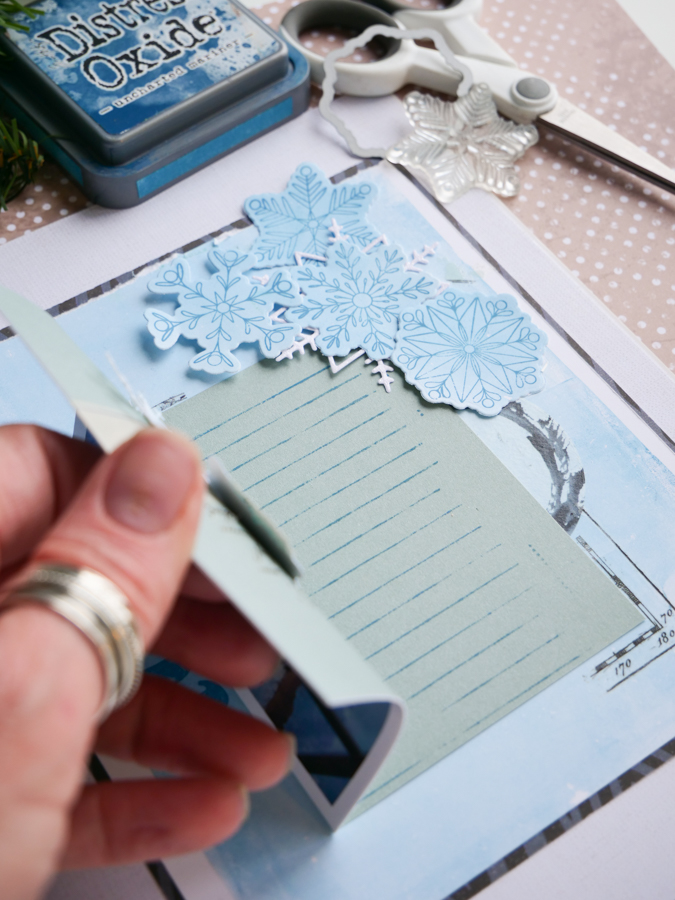
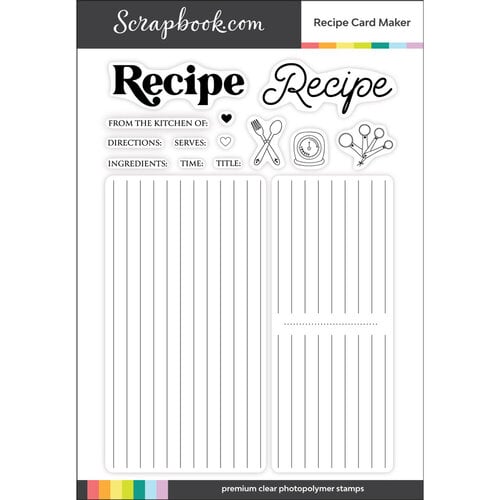
As I have been doing a lot, I am making these pages with some interactive touches. If you have watched any of Heidi's Storyteller Classes, then you know what I am talking about. These pages are so great for adding in the interactive. You can see here, I actually used the Recipe Card Maker Stamp to make distressed journaling marks on the card behind the photo. Because, lines, people. I need lines for writing. Or my writing looks seismic. Tell me I am not alone.
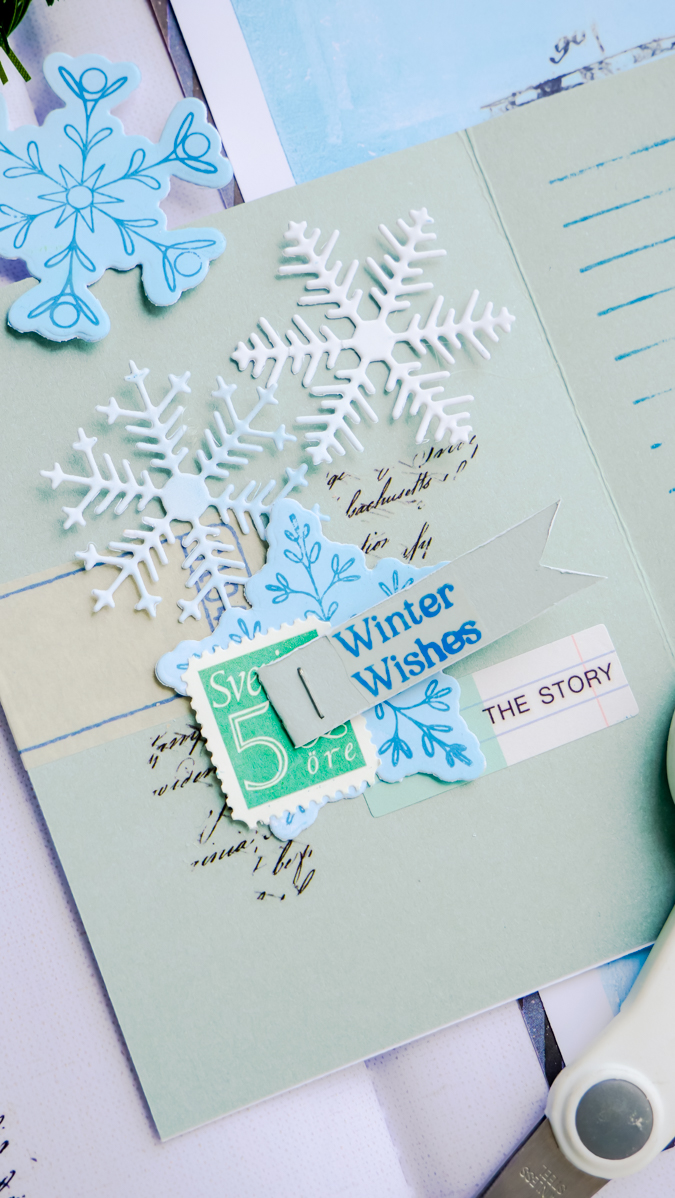
The opposite side of the journal space was open and literally begging me to add in the embellishment. So, what do we have here. Let me list this little embellishment cluster in order from the background to the top because I think this is a great little tutorial for any kind of tag, page, or card:
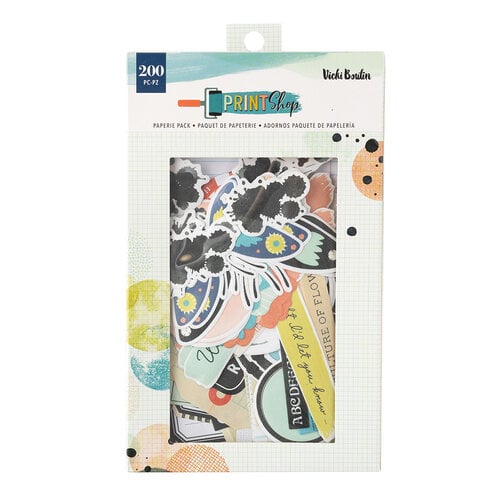
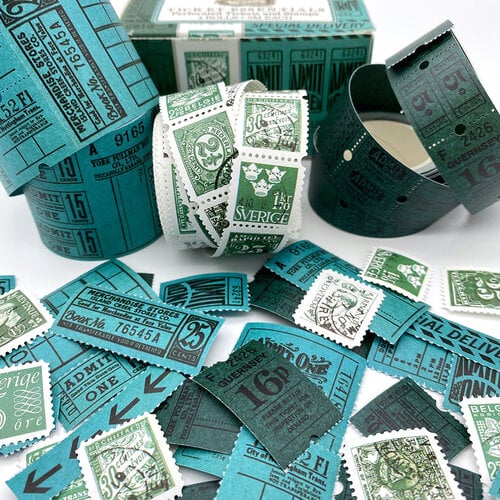
Ticket from Vicki Boutin Paperie that is wrapped around the left edge and can be seen on the photo.
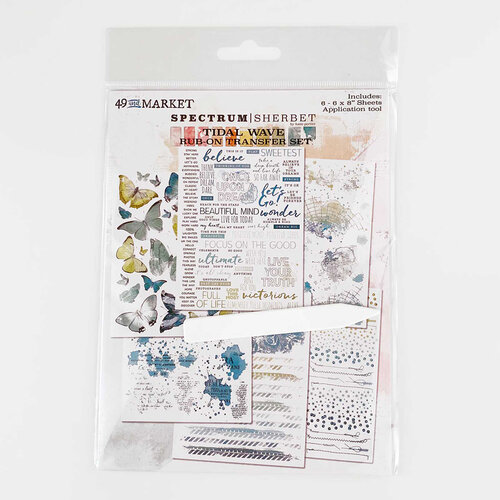
Then script rubons from 49 and Market. Because. Rubons!
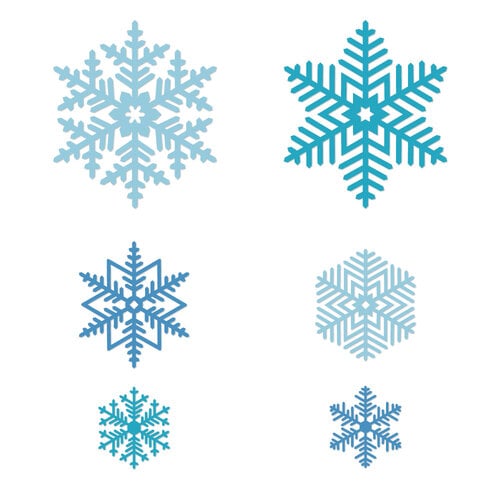
Next were those delicate Snowflake Dies that I die cut from some pre-inked papers.
Then you can see another of the Dainty Snowflake stamped and die cut snowflake. That's like a third way I am using that concept. Pro tip: use those tools over and over again in all the ways.
The snowflake was layered with a 49 and Market Lagoon Ticket then a stamped and notched Sentiment.
I hope this inspires you to explore ways to layout your story. I mean, there are for sure more than three ways to do this. These are the ideas that come from these pages. Let me know what you think.





So beautiful! Wonderful instructions 😊 Thanks Jamie! Martha
ReplyDelete