How To : Create Easy Floral Pocket Card Tags
What may just look like a 3x4 card of pretty florals is indeed much more than that. You may not even be a pocket scrapbooker. I get that. Sometimes that's how I used these cards. But mostly it is not. You may think that these cards just fit in a 3x4 or 6x4 clear pocket page, but there is much more to these cards.
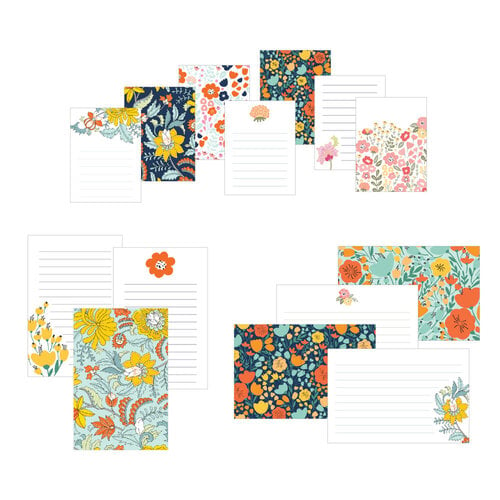
These Floral Pocket Cards in particular are a paper crafters staple. The florals come in a pack of 14 double sided, heavy matte cardstock. There are warm hues and cool hues. There are small flowers and big flowers. These cards are great to use as needed journal spots, or as photo mats. The cards compliment beautiful to the colors of cardstock already in your stash of paper. You will find yourself reaching for these florals again and again.
I have creative friends who reach for these Floral Pocket Cards to use on their DIY cards, on traditional scrapbook pages, and where ever they need a pop of color. While they are already obviously perfect for a pocket page spread, I have seen very little of that use, actually. Right ? I know...why do we call them pocket cards then? Great question.
Crafting with these cards provides a couple of ideas for crafters. One is the creative play factor. I know you see me reaching for creative play excuses all the time. This is the part of the show where we do not take ourselves too terribly serious and we just take paper and embellishments and see what we can make.
No real end result in mind. No deadline to craft for. No compulsion to post on Instagram. Simply make these very inexpensive cards canvases for creativity exercises that will for sure create even more ideas for future story telling and card making.
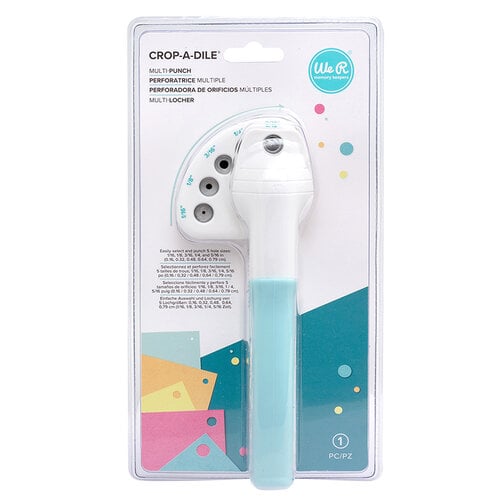
In this post watch this little evolution of a Pocket Card in action. To make this transformation happen you will need to start with a pocket card. Next I used a scrap piece of cardstock and created a tag smaller than the Pocket Card. I punched out colored cardstock to make a reinforced hole, then ran twine through and tied it off.
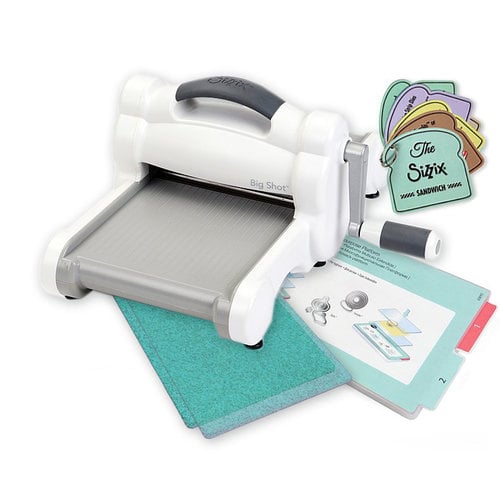
The next thing that I did was add a die punched floral by taking the Smooth Cardstock, that just so happens to beautifully complement the Pocket Cards. I used just a bit of adhesive in the center back of the flora die cue so that it would 'float' on the cardstock tag.
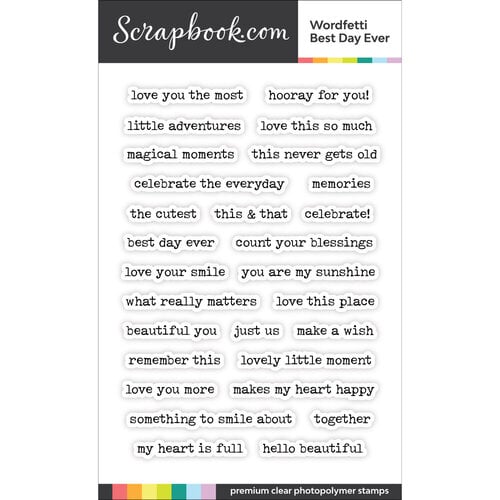
Something else that should be part of your paper crafting stash are word stamps. I used the Best Day Ever WordFetti stamp set to stamp the 'celebrate everyday' sentiment. This was chosen on purpose as this is one way I celebrate the days: by making stuff. By challenging my creative mind to make pretty things with Pocket Cards and Cardstock and die cuts.
You can see how pretty it all came together. The base of the Pocket Cards make wonderful canvases. While you could take to creating a stamped collage of pattern on a card, the Pockets Cards are already made for you to just get to layering on of the other goods.
I recently brought the Studio Calico Chipboard Arrows and Hearts into play here in the studio. These chipboard embellishments are matte white and ready to make for yet another layer on the Pocket Card creative play sesh in progress. Except first I used the Domed Ink Blender to add Tattered Rose Distress Ink to the plain white chipboard arrow. Wow! What an easy way to make colored embellishments in whatever color I need.
Subtle. Yet another layer. And now that simple, originally meant for the pocket, Pocket Card is beautifully and simply embellished. The Pocket Card went from oh...that's pretty to...oh wow, what a pretty tag!
Not only that, for only 2.99 during the ScrapbookCom's Exclusive Storage & Organization Showcase, you get 14 cards you can DIY during your own creative play session. This card is ready to be layered on a DIY card, a scrapbook page, a MemoryDex Spinner, or a gift tag. Or, you know, slip it in a pocket page if you will.
Hey friends...when you shop these links below, I receive a small kick back from your sales from Scrapbookcom. There is absolutely no extra cost to you at all! But these commissions help to cover the costs of this blog and other expenses to provide you with these and other project ideas. I want to continue to bring you FREE inspiration. Shopping these links allows me to do just that. I can't thank you enough for your love and continued support.
***Items used in this post***






No comments:
Post a Comment