creating simple backgrounds with Slimline Dies
Returning to one of my first loves...and that is plain, old fashion scrapbooking. Well..OK...not plain. And not old fashion. My storytelling format of choice is not a 12x12 page. But I mean, that could change. This is an ebb and flow sort of creativity.
So today we continue with some feature layouts in my Storyline Chapters Weekly Pages.
Using Slimline Dies for Backgrounds On a Scrapbook Page
Yesterday's layout was inspired by the ScrapbookCom Number Dies. You can see that post HERE.
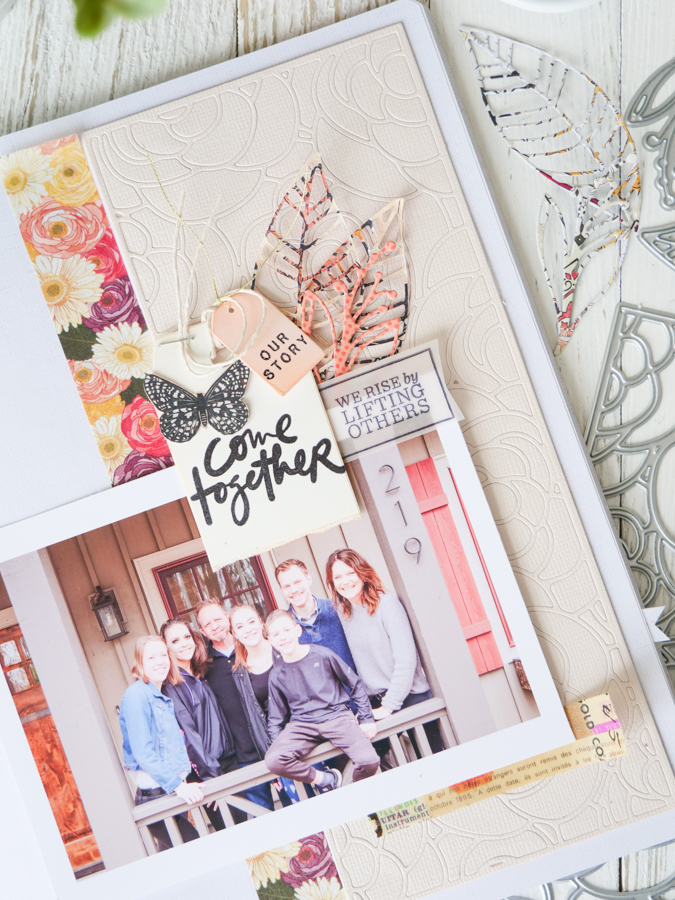
Today's layout was stamp inspired. Ali Edwards most recent Story Stamp, Connect, is what has prompted this layout. I mean, don't get me wrong. This photo of me and my people and our most recent gathering would have made it to the page anyway. But I really have enjoyed taking embellishments, and this one here is the stamp set, to prompt a page and a story.
So what all do we have going here?First the pages that this story is created on is Storyline Chapters Scrapbook Insert. This is where most of my 2020 Weekly stories are residing.
We have Vicki Boutin Storyteller showing up in force on the page too. Pattern paper and washi tape made a strong appearance here on this page.
But we also have those ScrapbookCom Slimline Dies making an appearance too. You can see a theme here in the past few projects I have crafted. Find more ways I am using the Slimline Dies in these posts HERE.
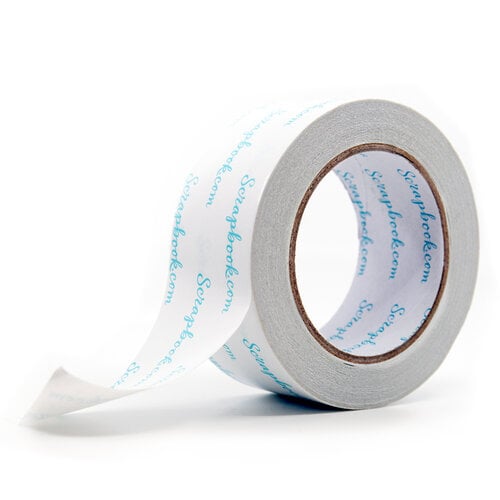
This time I used the Rose Bloom Slimline Decorative Die to create a background panel to help anchor the photos and embellishments. After I cut out the die using Vanilla Bazzill paper, I then used 2 Inch Double Sided Adhesive on the back of the cut so as to keep all the negative pieces together in the positive cuts. (Video coming soon to feature this technique).I really loved this tone on tone pattern in the background. It still allowed for other patterns to come together on the page without clashing with the Rose Bloom.Doing this again for sure!
Another die set that was invited to the party is from Altenew called Leaf Mix. I had been eyeballing this die set for quite some time. I will be highlighting these cuts in another post coming soon. This set is a must have for sure.
I really loved how beautiful pattern paper played so well with those outline die cuts. I'm a fan of floral or leaf type die cuts to fill in and add layers to my page.
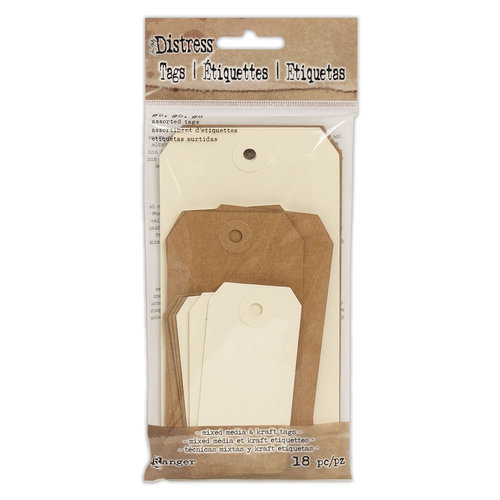
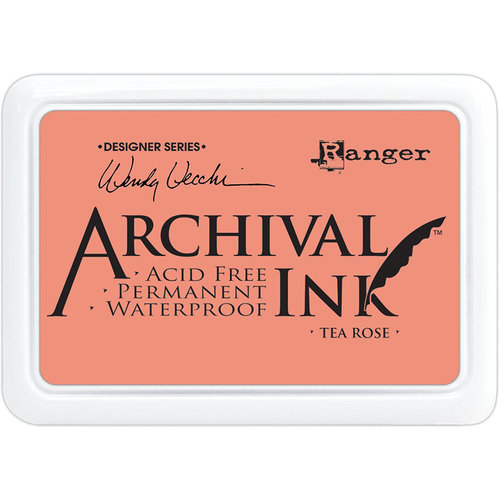
The title stamp, Come Together, was stamped on a larger Distress Tag. The tag was stamped, then I tore off the bottom portion as it was a bit too long for where I wanted it placed. Then I inked the edges with Archival Ink in Tea Rose.
Tea Rose was also used to ink the tag that is stamped with 'Our Story'. That tiny tag was cut with the Nested Tag Dies from Distress White Heavy Stock paper. All the tag was inked to give it a complementary color to the other elements on the page. The Tea Rose plays well with the hues found in Vicki Boutin's Storyteller.
I hope this inspires you to look at your card dies in a different way. I hope you are inspired to mix patterns and bring in some color to your pages by way of inking tags and just getting in some creative play. But as you know, I hope you are inspired to tell your story and create pages made by you.
Hey friends...when you shop these links below, I receive a small kick back from your sales from Scrapbookcom. There is absolutely no extra cost to you at all! But these commissions help to cover the costs of this blog and other expenses to provide you with these and other project ideas. I want to continue to bring you FREE inspiration. Shopping these links allows me to do just that. I can't thank you enough for your love and continued support.
***supplies***
Another die set that was invited to the party is from Altenew called Leaf Mix. I had been eyeballing this die set for quite some time. I will be highlighting these cuts in another post coming soon. This set is a must have for sure.
The title stamp, Come Together, was stamped on a larger Distress Tag. The tag was stamped, then I tore off the bottom portion as it was a bit too long for where I wanted it placed. Then I inked the edges with Archival Ink in Tea Rose.
I hope this inspires you to look at your card dies in a different way. I hope you are inspired to mix patterns and bring in some color to your pages by way of inking tags and just getting in some creative play. But as you know, I hope you are inspired to tell your story and create pages made by you.
Hey friends...when you shop these links below, I receive a small kick back from your sales from Scrapbookcom. There is absolutely no extra cost to you at all! But these commissions help to cover the costs of this blog and other expenses to provide you with these and other project ideas. I want to continue to bring you FREE inspiration. Shopping these links allows me to do just that. I can't thank you enough for your love and continued support.
***supplies***







No comments:
Post a Comment