How to craft a Pieces of Me Mini Album
Let’s get right to it.
This mini album was first introduced HERE in this post.
I shared a walk through video of this album back in February.
You all responded so beautifully to that video.
And asked for me to create a process video.
Today is the day.
It’s finally here!!!
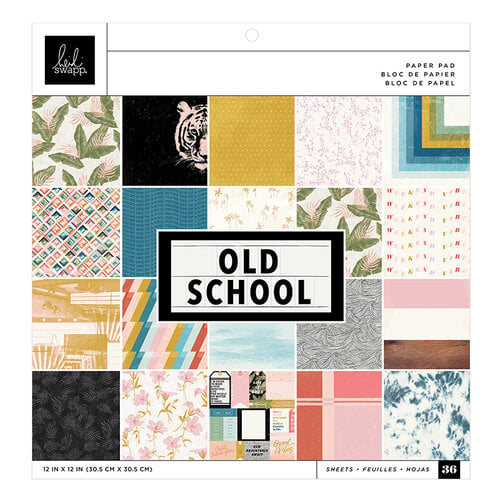
This post is for the Heidi Swapp Media Team. Right here I will be showing all the page layouts to this mini album. I really wanted you to know how to put the basic album together. This time I used Heidi's new Old School Collection, but the book is the same format as the Pieces of Us Mini Album.
Just a few details before you start on this mini album. All supplies are linked below, and you greatly help this blog by clicking through if you are needing to purchase anything. I get a small percentage of the sale but you are in no way impacted by that at all.
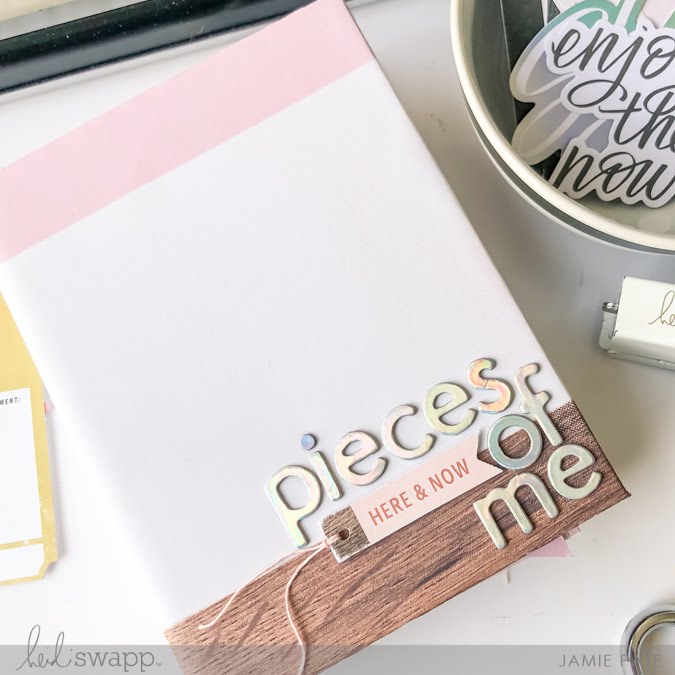
As with most all my mini albums I start with the creating the cover. That is how the process video begins too. To help you get a start on this, I have included some measurements here below:
PART I:
Cover the covers.
The mini album is 4.5-inches wide by 6-inches tall.
The chipboard covers are as follows:
2 - 4.5x6-inches
1 - 1x6-inches
The inside of the spine is covered with pattern paper.
Then two pieces of white cardstock are trimmed to fit the inside covers. This is one of my favorite ways to make covers and binding for a mini album.
Watch the process video posted here for all the details.
Now that you know how to make the basic album cover, and you know the structure of the inside pages, you can now embellish to your hearts content. See below to know how I added to each page.
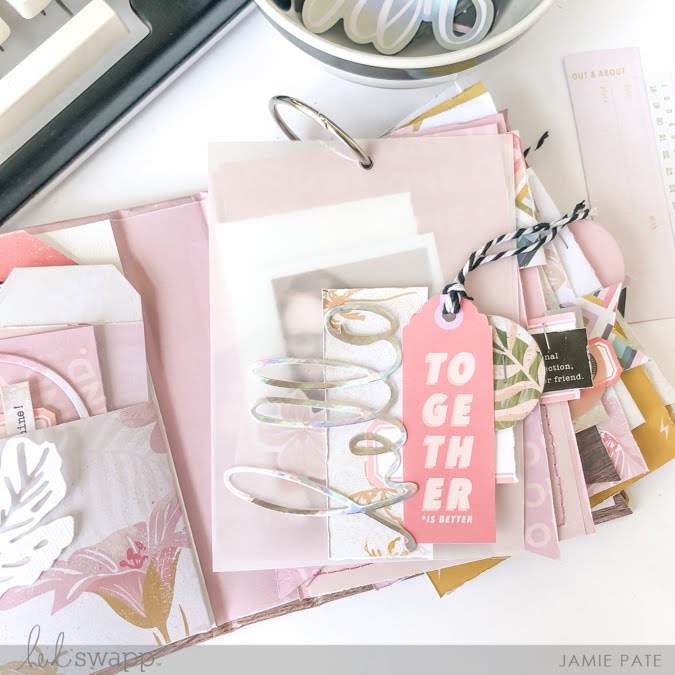
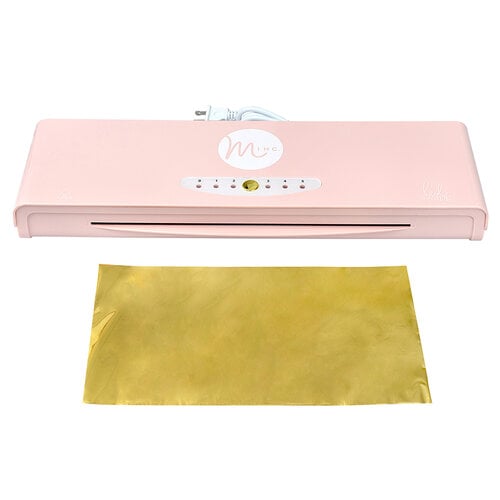
The clear craft paper cover was made in the video. Those details are shown at the end. I also shared how to make the Heidi 'hello' using the Heidi Swapp Designer Die set + Minc Surface Pad (I used the glue paper) + Silver Squares Foil.
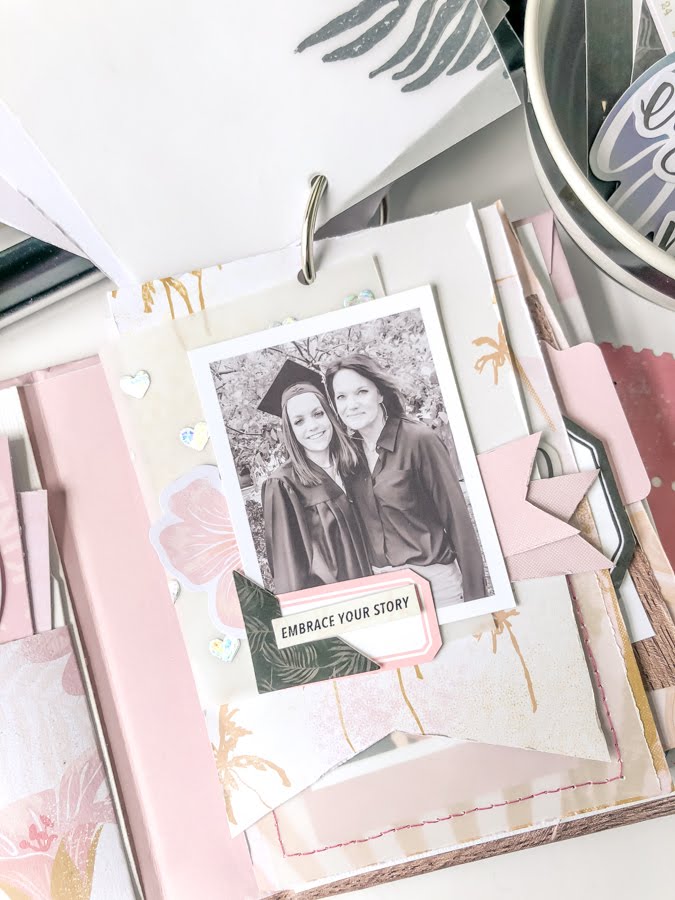
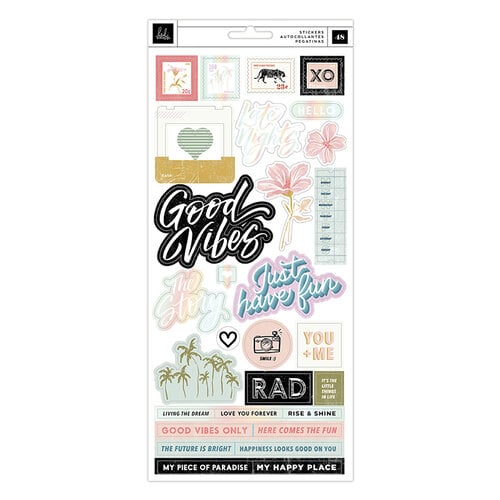
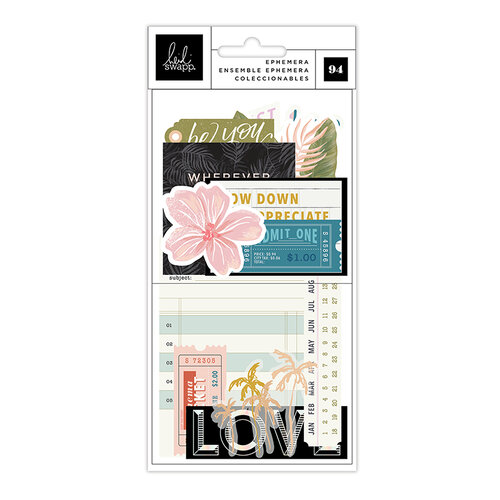
You see in the video that each page holds a photo. I printed these photos at home at about 2.25 inches wide. The photo was then matted with white textured cardstock. Same cardstock was used to cut out the leaf from the Designer Dies. A photo corner, the Good Vibes Only sticker, and then Ephemera flower was layered in the corner.
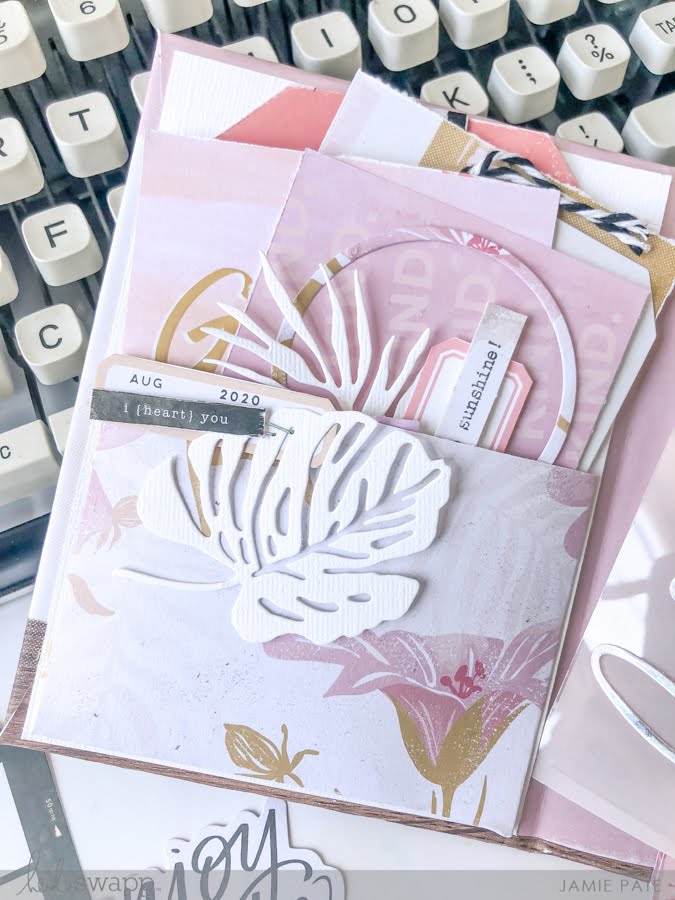
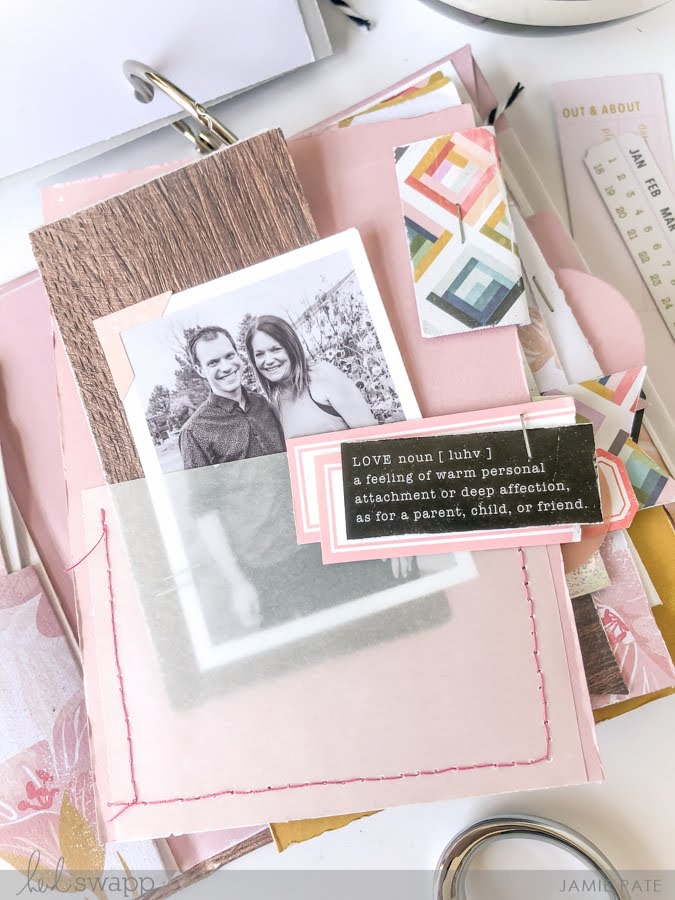
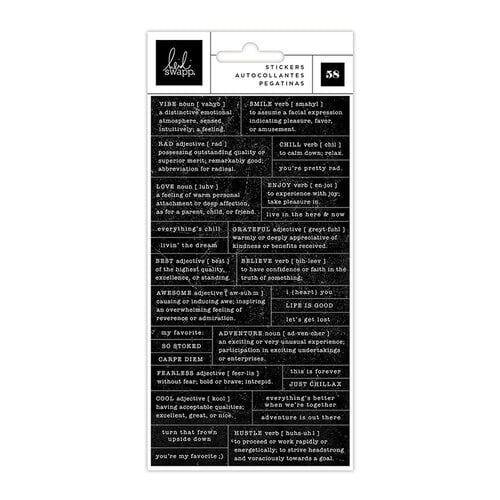
This page is one of two pocket pages. I took vellum and measured off a pocket. Then just sewed the pocket to the pattern paper. My photo was matted with pattern paper. I am a fan of labels and have them always at the ready in my stash, and so those were used as part of the layered embellishment with the Definition Stickers. And a staple tops it off.
This page starts at about 4x5.75 or so inches. The pages are not cut to exact measurements. I just made sure that they fit in the book nicely. If I cut them too big then I would trim the edges a bit as needed.
This time the photo is mat against a foiled piece of pattern paper. In the video you can view this technique. I love doing this. It's really simple and you may think, well...why bother? But it just adds a bit of interest and curiosity to the embellishment. You'll see it again too.
Again a label is part of the embellishment cluster with the vellum ephemera and the foiled heart that I popped up with dimensional tape.
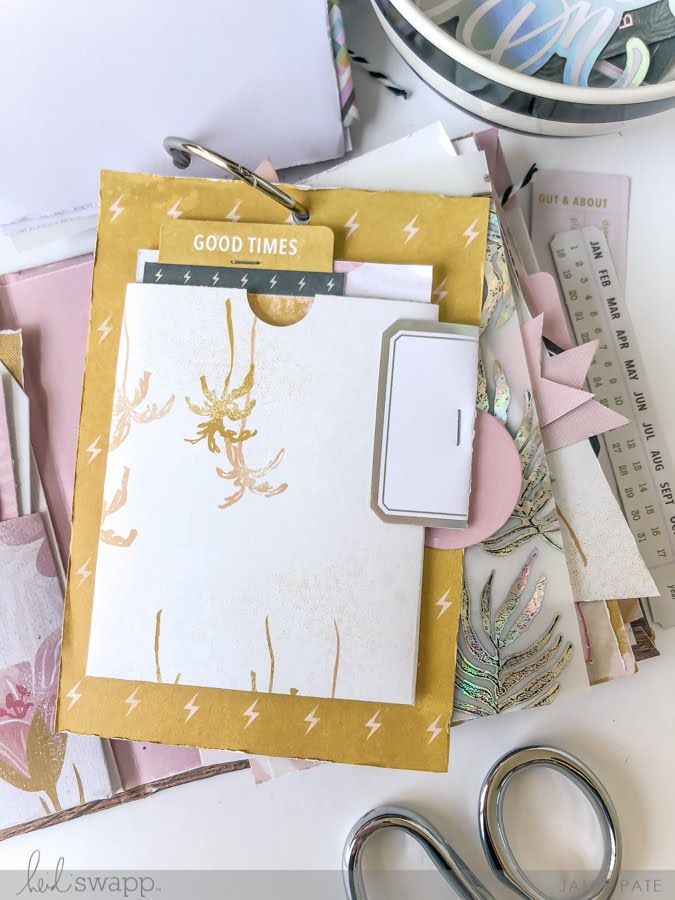
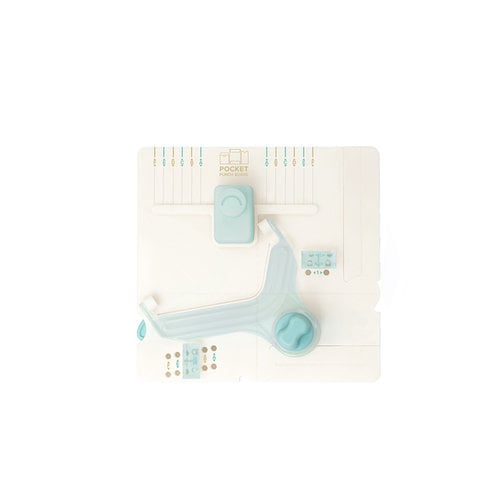
This page I call 'embracing imperfection. Yes. I realized after I made this page that the palm trees are upside down. So. Note to self and to you, when making a pocket with the Pocket Punch Board to be mindful of the orientation of the pocket. And also, if you are to have embellishments up high on the page just be careful not to punch the hole in them. Just sayin'.
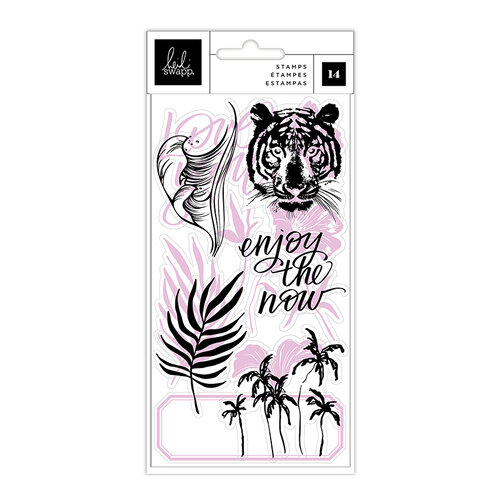
Under this pocket page with the journal card inside the pocket you can view the Minc Toner Stamped palm leaves. The stamp is from the Old School Icons stamp set. The video shows the technique for making that vellum foiled page.
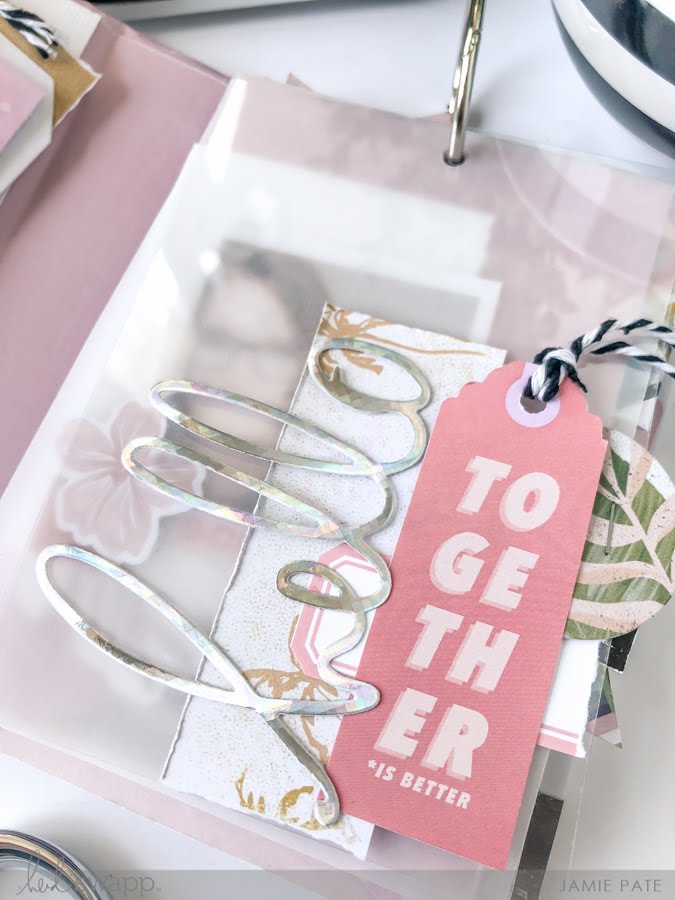
This starts the repeat of the pages. I started with a v-notched page, and I am repeating that here again. The photo is layered over the Silver Squares Foiled heart that I stenciled on vellum. Refer to the video for this technique. A photo corner is used to embellish the photo that is layered with another label + Definition Phrase Sticker. My go-to notched flags are tucked up underneath everything.
This page is repeating the vellum pocket. I do this a lot with mini albums, repeat page sketches. For the embellishment factor I punched a tab from pattern paper and stapled to the top of the photo mat which also includes another Definition Sticker. The LOVE is from the Ephemera and is stapled to the vellum pocket. I do love vellum on vellum for some reason.
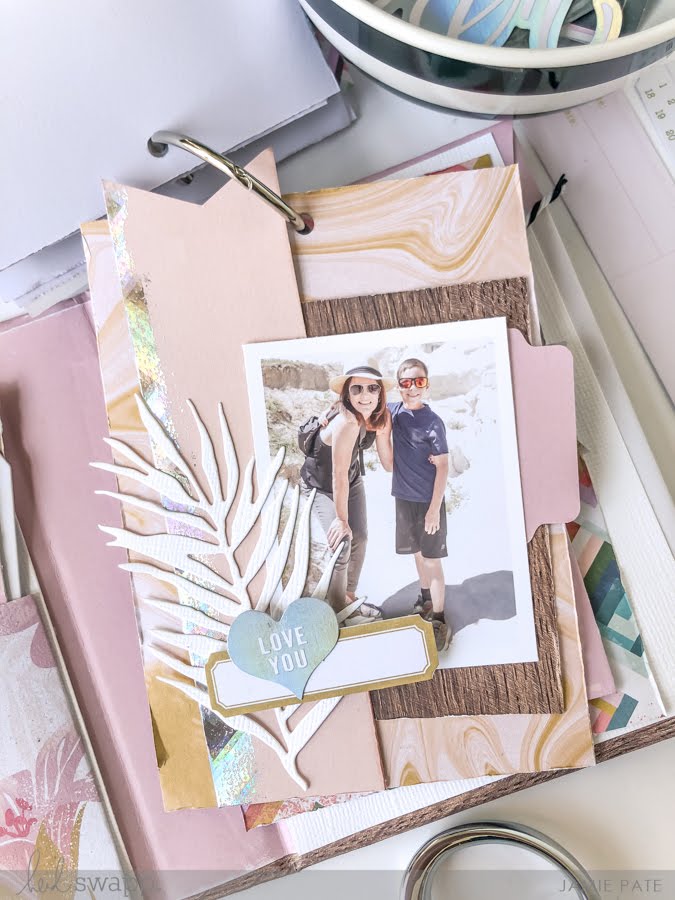
You saw the beginning of this page come together in the process video. Again I used a Minc technique here, a repeat from a previous page. This page comes with lots of layers including another die cut from the Designer Dies. I love this page.
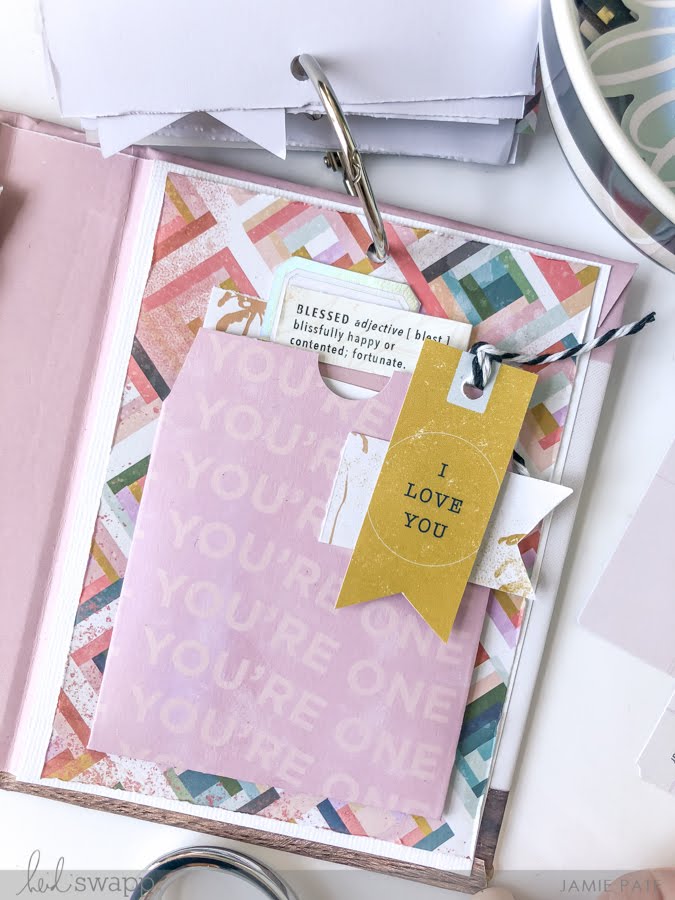
The last page in the Pieces of Me mini album finishes with another pocket. This time it's right side up. Yay!!! It is another non-photo page with home to a 3x4 journal spot that is embellished at the top with the iridescent label from the Cardstock Stickers and another Definition Sticker. You really want to get those definition stickers.
Let me know if you have any questions about this project. Hope you enjoy the making. I know I did. And it's a great idea for so many mini album ideas.
Hey friends...when you shop these links below, I receive a small kick back from your sales from Scrapbookcom. There is absolutely no extra cost to you at all! But these commissions help to cover the costs of this blog and other expenses to provide you with these and other project ideas. I want to continue to bring you FREE inspiration. Shopping these links allows me to do just that. I can't thank you enough for your love and continued support.









No comments:
Post a Comment