Today I want to share with you some details found in my most recent Project Life album.
An 8x8 album. See, this is how it goes: when I have a lot of photos that need to tell a story, I go for an album. An album by definition is a collection. Today's album has almost 50 photos. Now I call that a collection, right?!? Not only am I happy to have all these photos printed and in one place, but the use of 4x4 and 2x2 pockets to make it all fit even more perfectly, well, that is just eye candy waiting to happen.
Would you like to see the details of this book? A girlfriend's trip to the South. (um...that would be Charleston, South Carolina for those of you who live in the Southern Hemisphere.) First I will show you the format that all the pages will be following. Then I will take you through each page and point out the details. So ya might wanna grab a cuppa. There is a lot to share.
So this is a very fancy diagram of my page flow. If you follow me at all, you know that I typically create mini albums with a page flow. Each divided section in my album is equal to one day.
The very first page is a Heidi Swapp Project Life Tab Divider. I used the clear ones.
Next there is an 8x8 page protector. An enlarged photo on one side and a traditional layout on the other.
The next two pages are the 4x4 pocket page protectors.
Then, on those pages may be a 2x2 page protector that I used the with the Fuse.
Then... the sections start all over again.
Here is the first clear Tab Divider. It already has the 'right here & now' embossed on the front.
I am going to highlight tips for these pages with an asterick ( * ).
Are ya ready? Deep breath...
*Place clear stickers on the clear Tab Divider to add more interest.
*Mix in traditional scrapbook pages with the Project Life Pages, as seen here on the back side of the 8x8 pocket page.
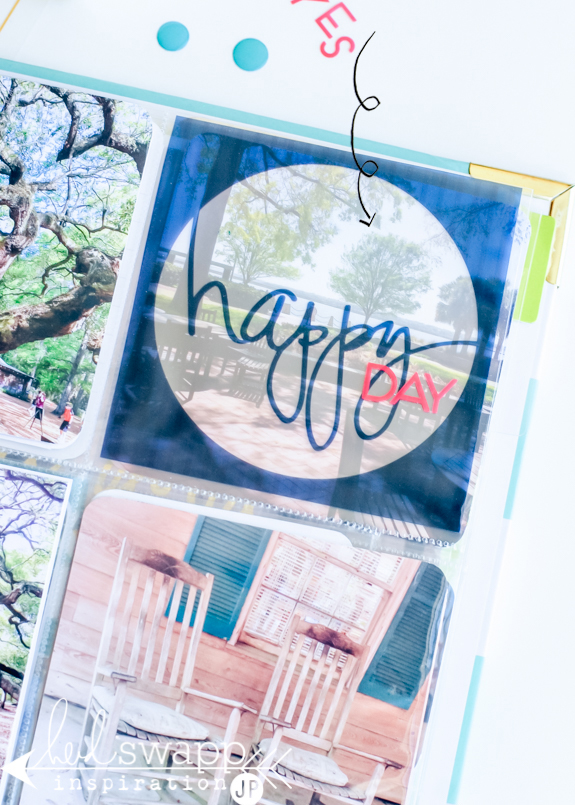
*Keep is simple and crop your photos (or use your Instagram images) to 4x4 and slip them right in the pockets. The emphasis here are the photos!
*Slip a Wood Card in a pocket. Use an overlay (bon jour) right on top as an embellishment.
*On the back side of the Wood Card, keep it exposed, and add a Gold Sticker with an enamel heart. You don't even have to take the card back out of the pocket, place it right on top of the pocket.
*Use Alpha Stickers to designate the day of the week.
*Add stamps + Phrase Stickers + Alpha Stickers to customize journal cards.
 |
Now it starts all over again.
A clear Tab Divider, and the rest follows.
*Adhere photos right on the clear Tab Divider.
*The 'reality check' is a clear 3x4 card, use it as a page embellishment.
*The Overlay cards come 6x4. Trim to 4x4-inches to fit a 4x4 pocket. Allow a photo from another page to show through.
Don't have photos that fit a 4x4 ratio?
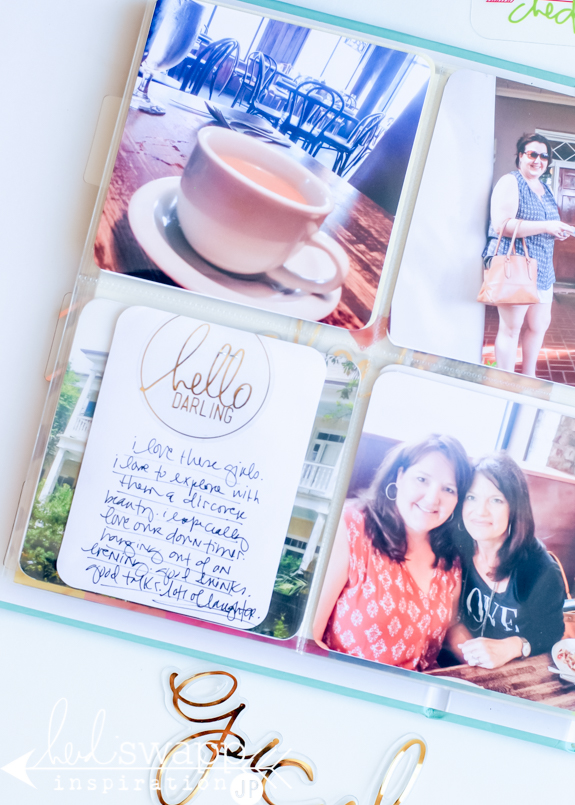
*Trim photo to 3x4 and Fuse a 3x4 Photo Sleeve to the page. Slip photo on the top, filler card on the back, and journaling underneath.
*Trim down 6x4 journal cards to fit the 4x4 pockets. Even the graphic cards, they make for great journaling spaces too.
*Fuse a 2x2 pocket on top of a 4x4 pocket. Gives more room for more photos.
*Add additional stickers to the Tab Dividers.
*Use a 4x4 Overlay to simply dress up a photo. Sometimes less is more.
*Add journaling to a 3x4 card. Slip inside the 4x4 pocket and staple in place.
Last tip for today...
*Add a clear sticker to the back of a journal card and write on it too!
Well that is more than a couple of ways (16 to be exact) around a Project Life album. I hope a couple are useful for you and your memories.
supplies:
Project Life: Tab Dividers. Gold Phrase Stickers. Gold Stickers. 8x8 Page Protectors. Color Shine. Fill In The Blank Value Kit. Bright Overlays Value Kit. 4x4 Word Cards. 4x4 Overlays and Page Protectors. Prismatic Core Kit. Washi Tape.


amazing album Dear!
ReplyDeletePure eye-candy and thank you so much for sharing all your work with us! I know how long that takes!!
alexandra...it's been so long!!! thank you so very much. your words mean so very very much to me. ~j
DeleteBeautiful album and lots of ideas! Thanks for posting!
ReplyDeleteHi there...thank you for stopping in and for your comps! I appreciate it!!! ~j
DeleteJamie I am inspired to scrap my trip the barrier reef now after seeing this, thank you for the beautiful inspiration!
ReplyDeleteYay yay...can't wait to see that!!! ~j
DeleteLove this post! Do you use the 2x2 pages and just cut the holes off or are there 2x2 fuse sheets that I'm missing?? Thanks!!
ReplyDeleteHi Sarah...I used the 2x2 pockets and just fused that right on because the holes did not line up to my album. Good question! Thanks for asking. ~j
ReplyDeleteLove your album! Which album did you use and which page protectors....brand name?
ReplyDeleteThanks!
Eileen
Hi, love your album! Such great inspiration, there isn't much 8x8 album inspiration out there yet?!
ReplyDeleteI'd like to ask though, how many pages fit into the album? I'm planning to make baby albums in 8x8 size and would like to know if I can fit the first 1 year, at least - into one album...
This album is beautiful and so inspirational!
ReplyDelete