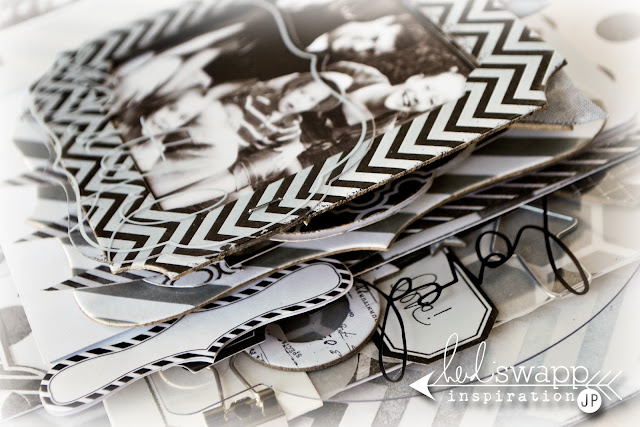
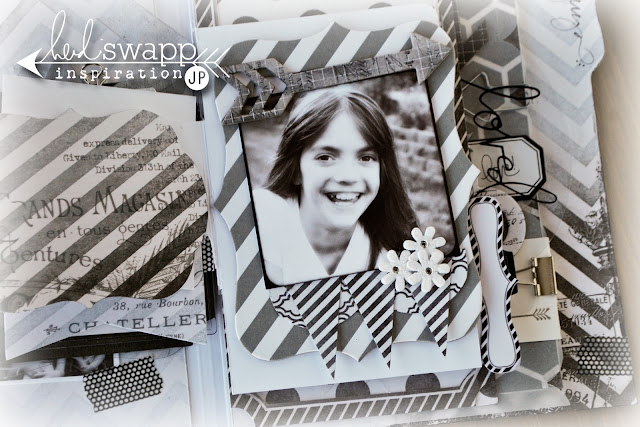
and then come back here for detailed instructions.
it is a bit of an aggressive project...
but i would love for you to play along.
O.K...there are a lot of supplies that go into this project. But it is sooooo worth it.
It was inspired by Heidi's video here explaining her Invisible Binding Technique. I would encourage you to watch the video first to understand the Invisible Binding. Then I would encourage you to read through the instructions first before starting. And please let me know of any questions you may have. Would love to know if you make this project.
supplies:
Color Pop Mini Memory File
Color Magic 12x12 Paper
Color Shine Tinsel
Clear Pop Banners
Mini Instaframes
Color Magic Arrows
Color Magic Hearts
Color Magic Seam binding
Black and White Letters
Color Pop Window Frames
Clear Pop Tags
Color Shine Black Velvet
No Limits Triumph Stix
Black and White Buzz Words
Clear Pop Bare Pockets
Color Magic Notes
Color Magic Banner Delights
Color Magic Butterflies
Color Pop Memory File Tab Stickers
Day Glow Photo Corners
Clear Pop Tabs
Color Magic Stars
Color Magic 8x8 Papers
Color Magic Jumbo Tags
Clear Stamps
what else you will need:
paper trimmer
paper towel
adhesive
black acrylic paint
washi tape
(the instructions for a particular photo will be under that photo)
for the cover::
Start with the black and white Color Pop mini memory file. Fold the file at the farthest folds so there is about a 1/2 inch spine.
Trim a piece of the Color Magic 12x12 Paper to a 5 1/2 inch wide by 7 1/2 inch long. Spray with Color Magic Tinsel. Buff with paper towel and allow to dry. Adhere to the cover of the memory file. Wrap edge around bottom edge
Trim a small piece of Color Magic Paper so that it fits inside the Mini Instaframe. Place inside and adhere closed. Add title. Attach to file cover.
Spray Seam Binding with Tinsel. Edge a Color Magic Heart and Arrow with black paint. Staple seam binding and heart to the edge of the frame. Add arrow.
Staple Clear Pop Banner to the top edge.
Inside::
Spray a piece of Color Magic Paper with Tinsel and Black Velvet Color Shine. Attach to the left side of the file and trim edges. Do the same for the right side.
Place photos, heart and arrow (edged with black paint), and Black and White Letters for title in a pleasing manner on the left side. Add a notched piece trimmed from packaging.
photo stack:
This was created using the video Heidi Swapp created for My Craft Channel found here. Watch video to understand how this is bound. You will need seven binder mechanisms to create the pages shown here.
This is the front of the book. But let's start with the last page...
Spray a piece of the Color Magic 8x8 Paper with Black Velvet Color Shine. This page measures 5 inches wide by 8 inches long. Add paper to the binding mechanism as shown in the video. Adhere a piece of vellum that is trimmed with a border punch to the sprayed paper. Add adhesive to the center which will be covered with the photo.
Add photo with Day Glow Photo Corner.
Place an arrow sprayed with Black Velvet to the top edge allowing it to peek over the edge. Add clips, stars, tags, arrows and labels to embellish.
Spray a piece of Color Magic Paper with Black Velvet. This page measures 4 inches wide by 8 inches long. Staple a Clear Pop Tab to the edge.
Color the edges of a Jumbo Tag. Trim out the center leaving the border. Staple this to the Color Magic paper. Add to the binding. Place photo over the binding mechanism to cover.
Add banners, stickers, labels and stamp to embellish further.
For the next page, a file folder pocket was cut with the Silhouette. It was sized to 3 3/4 inches wide. Attach to the binder mechanism.
Add Color Pop Window Frame to the page and then a photo on top with foam tape. Embellish further with arrow, banners, and paper flowers.
Add a label to the edge and back with another label.
For the next page adhere two Color Magic Notes back to back with the binder mechanism sandwiched in between. Add photo.
Next page is the Clear Pop Bare Pocket. Add to the binder mechanism. Slip the photo inside to cover the binder piece. On the back of this page add a Color Magic Note and embellish further with hearts and stamp, and a clip at the top.
The page with the kids group photo: attach photo to the front of the binder mechanism. Add a piece of pattern paper to the back to cover the rest of the binder piece. Embellish that side further with No Limits Triumph Stix, arrows and washi tape.
Whew...if you made it this far you are my hero.
I love this Memory File.
Please link me up if you create one of your own.


Jamie. This is freaking unbelievably gorgeous!! You are awesome!!
ReplyDeleteThis is so amazing, Jamie. I really just can't say enough about it. Now, off to pore over it some more...it really is truly remarkable. xo
ReplyDeleteoh my WORD this project is SOOOOOOOOOO beautiful....Jamie, you really blew this one out the BOX!!!! I just love the way you see color, pattern, detail and the way you celebrate your beyond beautiful family is TRULY inspiring. LOVE you pretty girl xoxo
ReplyDeleteAre you freaking kidding me Jamie, this is like the bomb amazing, not only a fabulous memory file but fantabulous directions to boot, my new fav of yours !,,
ReplyDeleteWow, you've outdone yourself on this one, my dear! This is one of the most beautiful creations I've seen in a very long time :) so stunning! I adore the color scheme and you have inspired me yet again!!! xoxo
ReplyDeleteWow, so beautiful, I wish there was a YT video, I'm a visual person. Thx
ReplyDeleteAbsolutely GORGEOUS Jamie dear!
ReplyDeleteAnd what a beautiful family you have ;-)